**All doorbells running FW version need at least v5.1.1.0.62186 to support the Monitor**
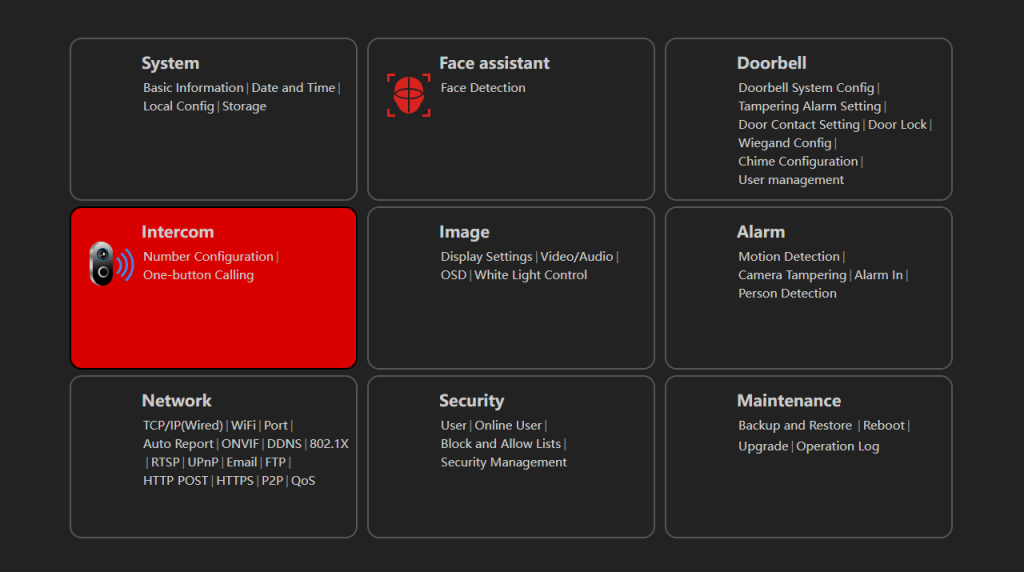
Log in to the Doorbell, then go to the Config Page. If you cannot find the option for “Intercom”, you need to upgrade it.
If you want to upgrade the Doorbell, follow the steps below:
- You need a PoE switch, the doorbell, and a PC with the IPC Management tool (https://provision-isr.com/ipmanager/)
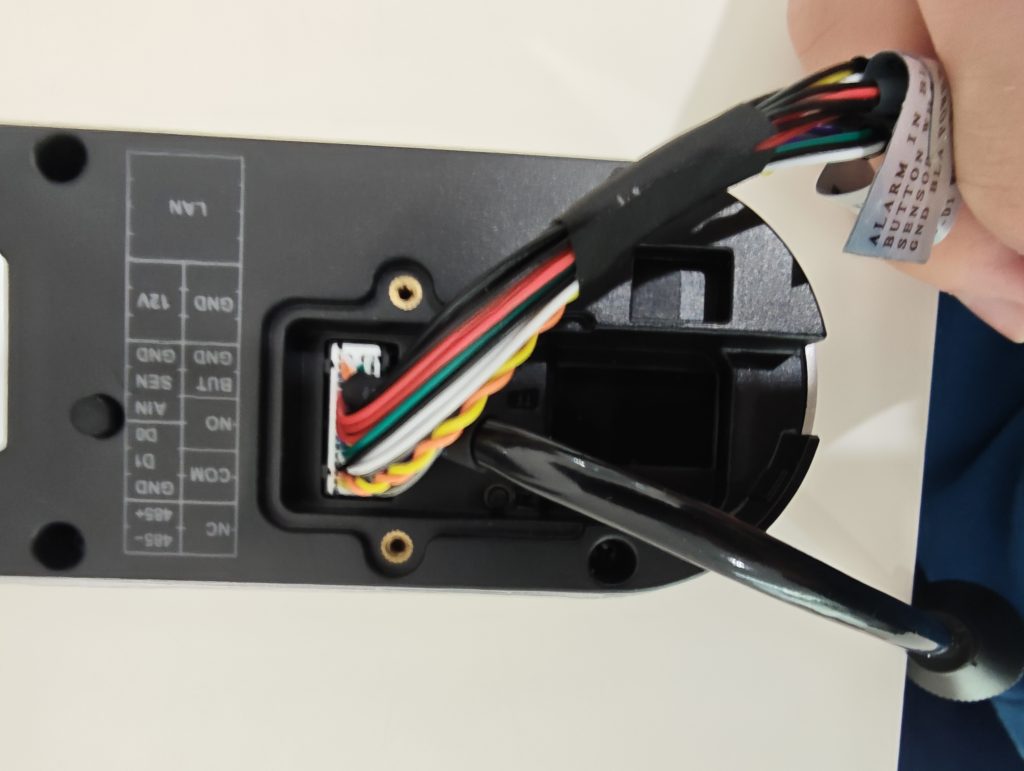
- Plug in the Ethernet cable to the Ethernet port on the cable, then connect to the PoE Switch
**Make sure your PC and Doorbell in the same network and the Same IP range**
**In this example, PC’s IP is 192.168.226.200, Doorbell’s IP is 192.168.226.201**
- Open the IPC Management Tool, and find the Doorbell
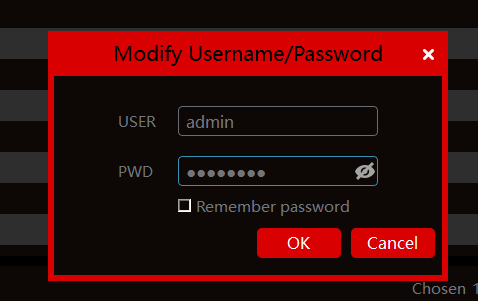
**We need to activate the Doorbell**
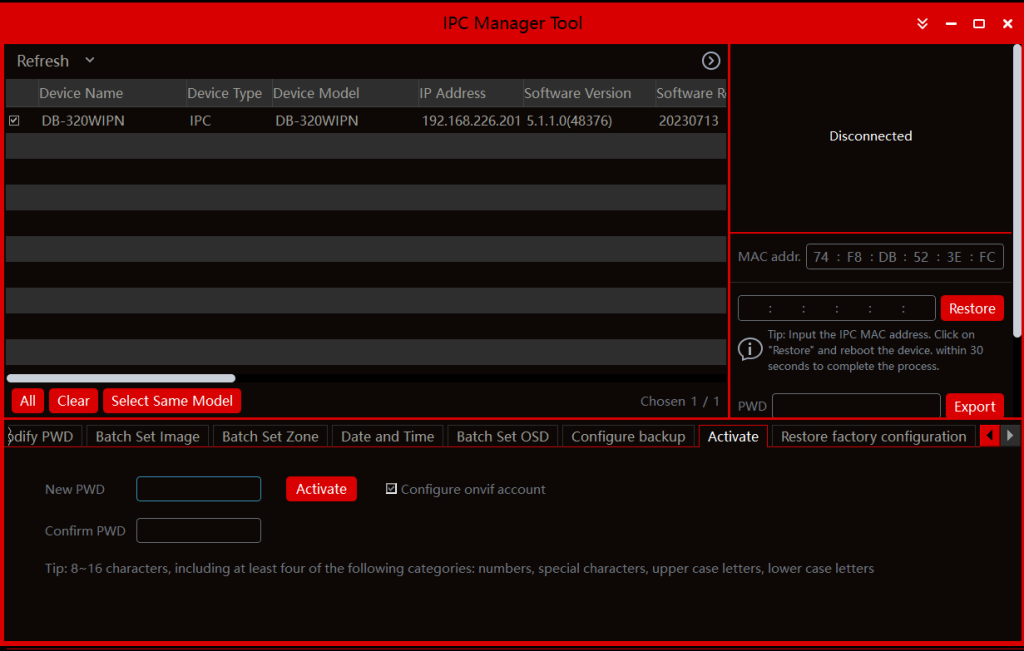
- Tick the checkbox at the front of the Doorbell, then find the “Activate” Page at the bottom
**Type in a Strong password at here, in this example we used P@ssw0rd**
**Then Click “Activate Button”**
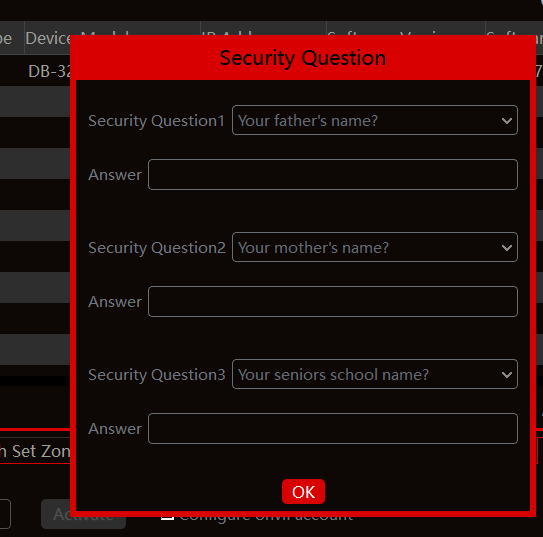
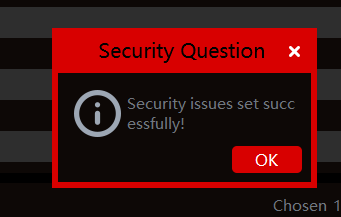
**You need to give them some answers about these questions, then click OK**
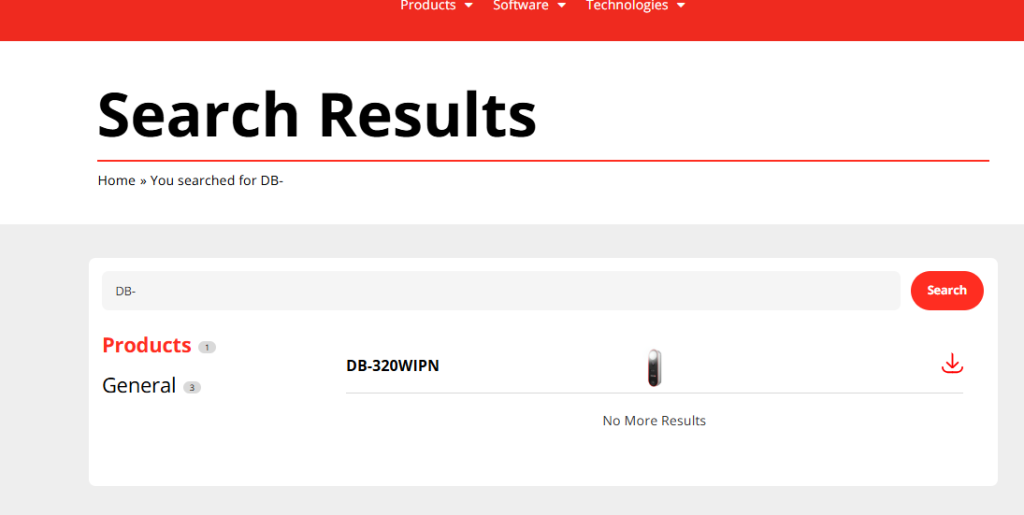
- We need to download the latest FW from the website (https://provision-isr.com/)
**Do not know how to use the website? (Click here) **
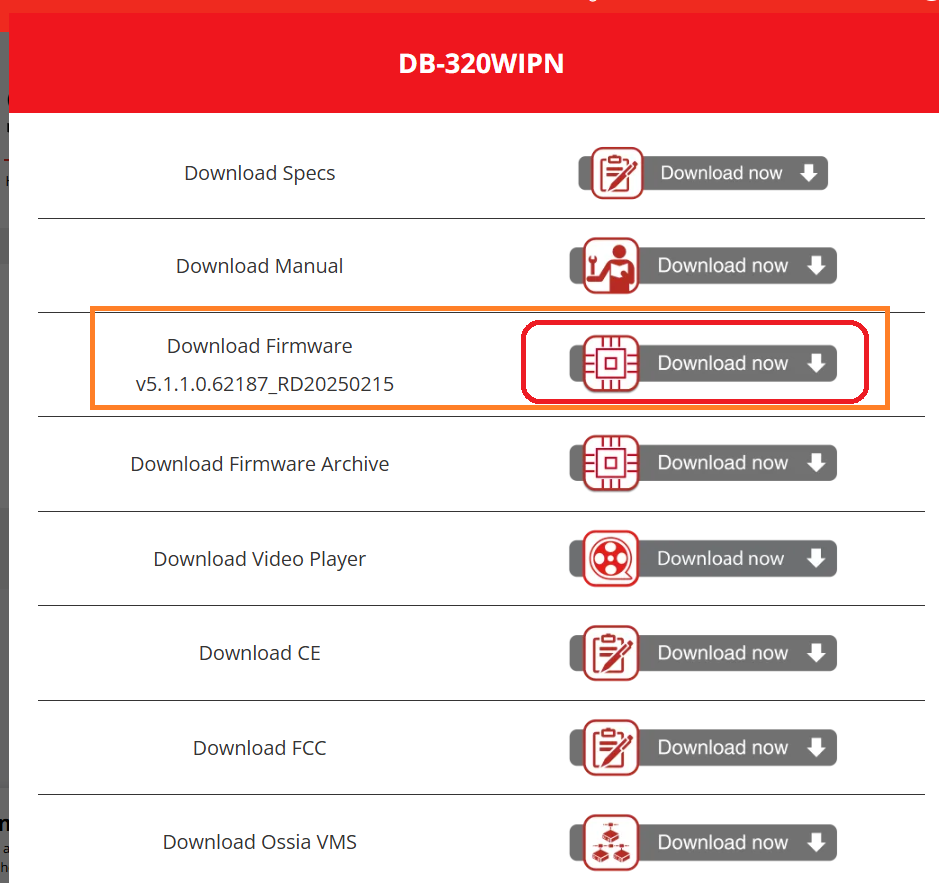
- After you extract the RAR file, you will find 2 TAR files inside, each one is fine, only with a different language package
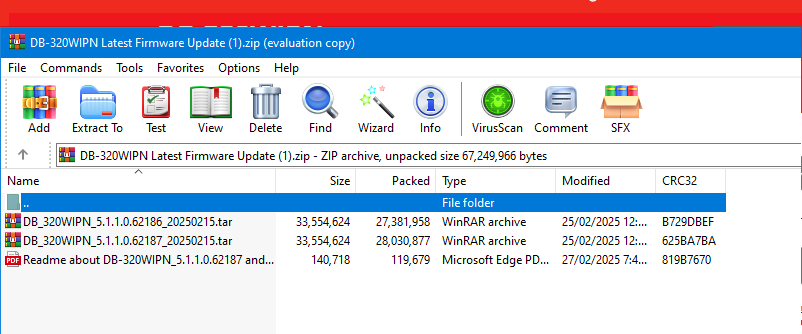
- Now we move to the “Batch Update” Page, and do the upgrade
**In this example, we use the file “DB_320WIPN_5.1.1.0.62186_20250215.tar”**

**After you click the Upgrade, you may see the password page again, just type in the password you used to activate the camera before**
**After you click OK, you will see all options gray out; just be patient until the Upgrade process finishes.** - After upgrading, you should see this option in the Config.
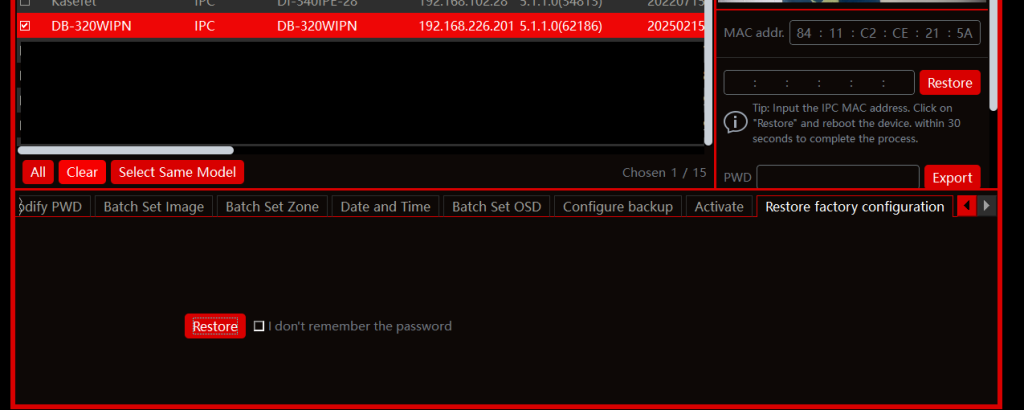
- At the end, we highly recommend doing the Factory default after upgrading.